How to work with Views and the Modern Advanced Find in Dynamics 365
How to work with Views and the Modern Advanced Find in Dynamics 365
June 24th, 2022
6 min read
Microsoft has recently made some updates to improve how Users Create, View, Share and Delete Personal Views within Dynamics 365. This blog post will act as an introduction to views and an overview of the new features. We will also cover the changes made to Advanced Find, as part of the 2022 Release Wave 1. The familiar Advanced Find icon in the navigation bar has been replaced by a ‘Modern Advanced Search’ across all Dynamics 365 modules and model-driven apps. This is an important change for anyone who use Advanced Find, find out more about these changes below.
Views in Dynamics 365
Within Dynamics 365, there are two types of Views; System Views and Personal Views.
- System Views are created by the developers of a system and will be the default views that all new users will see
- Personal Views are created by individual users, in which they select which columns they wish to see and which filters they want to be applied
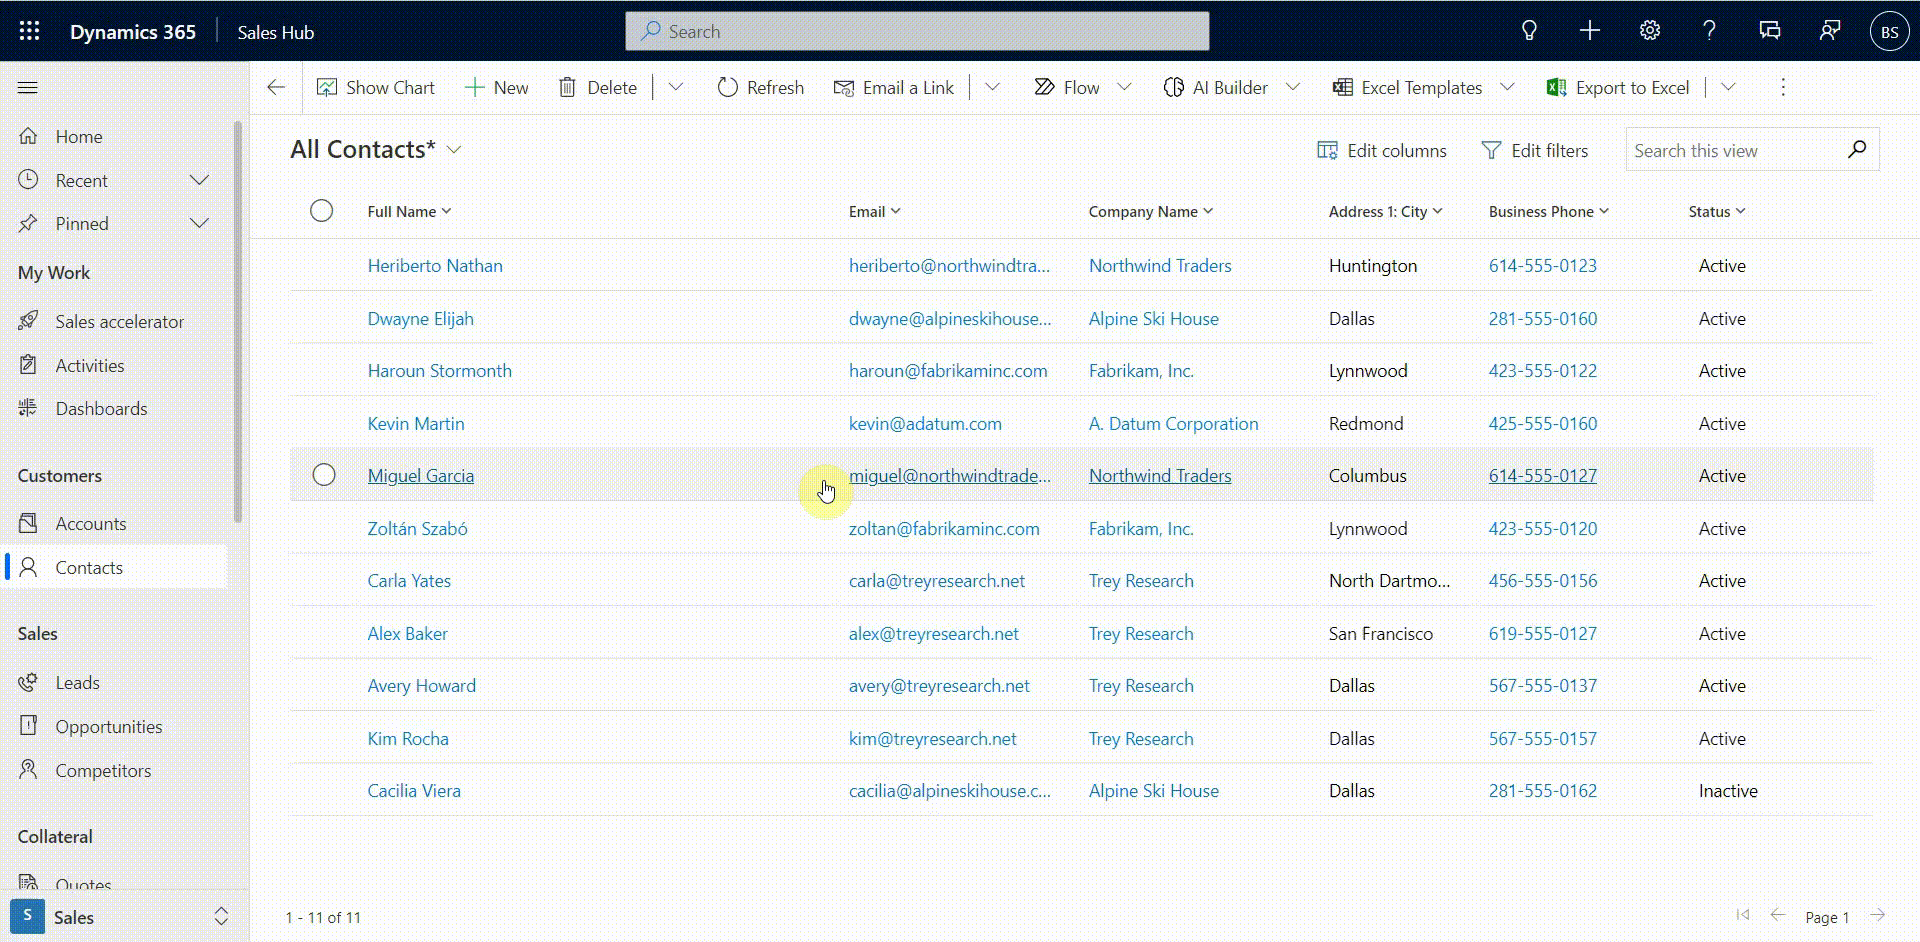
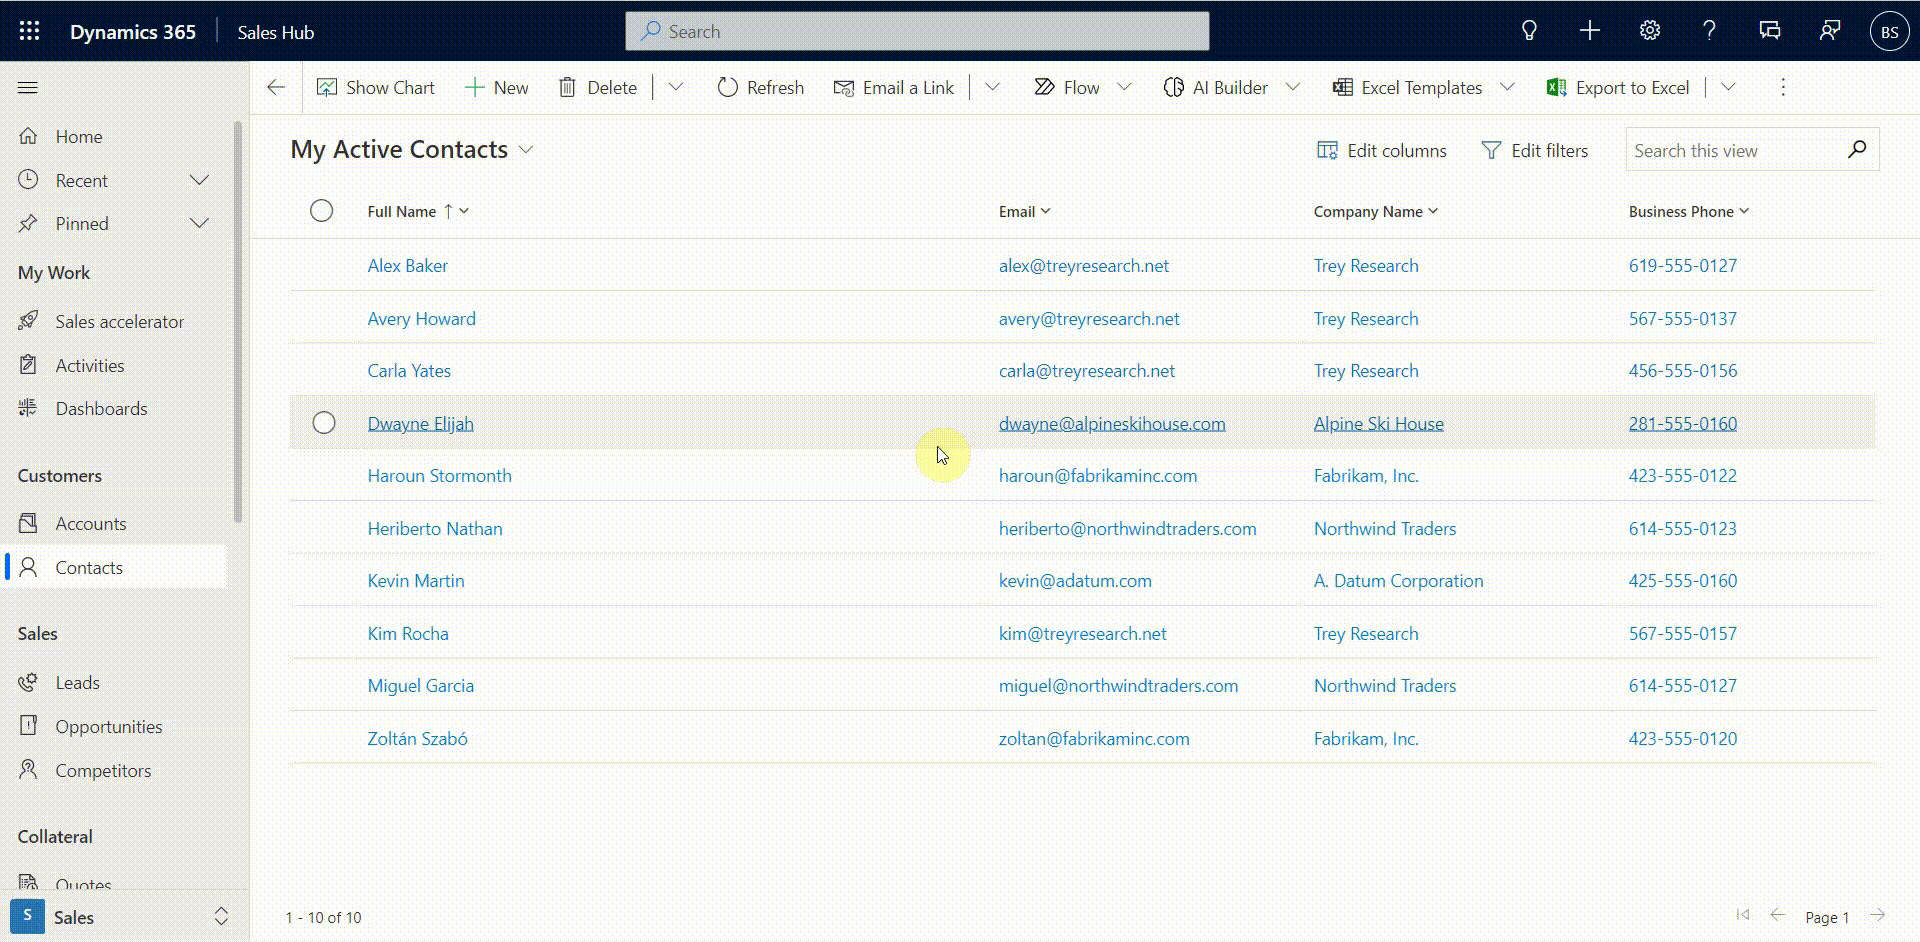
Views are an integral part of a Dynamics 365 App, as they allow users to see a list of Rows for a specific Table, with only key columns of the information shown. This ensures that the user can find the information they are looking for at a glance.
The information displayed within views is often high-level information. For example, a view for accounts may show:
- Account Name
- Account Type
- Related Contact
- A line of the Address
- Email/ Phone Number
- Payment Methods
- Key Dates (Created on, Deactivated on, Next payment date etc.)
- Owner of the Record
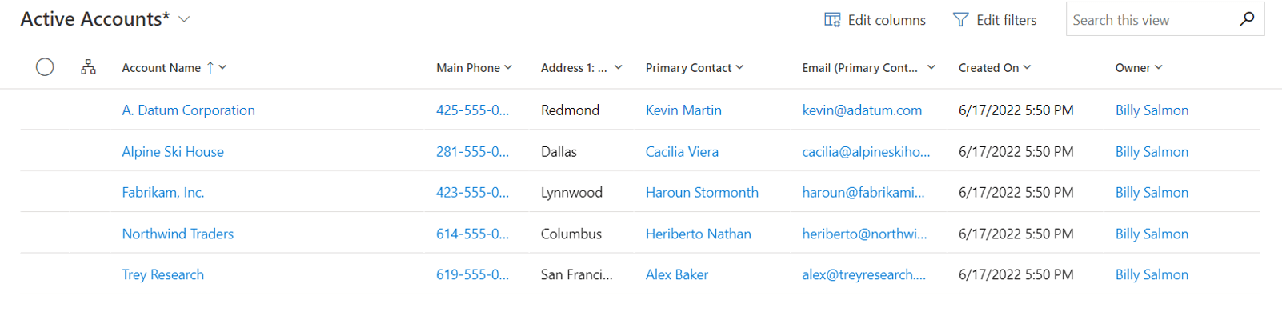
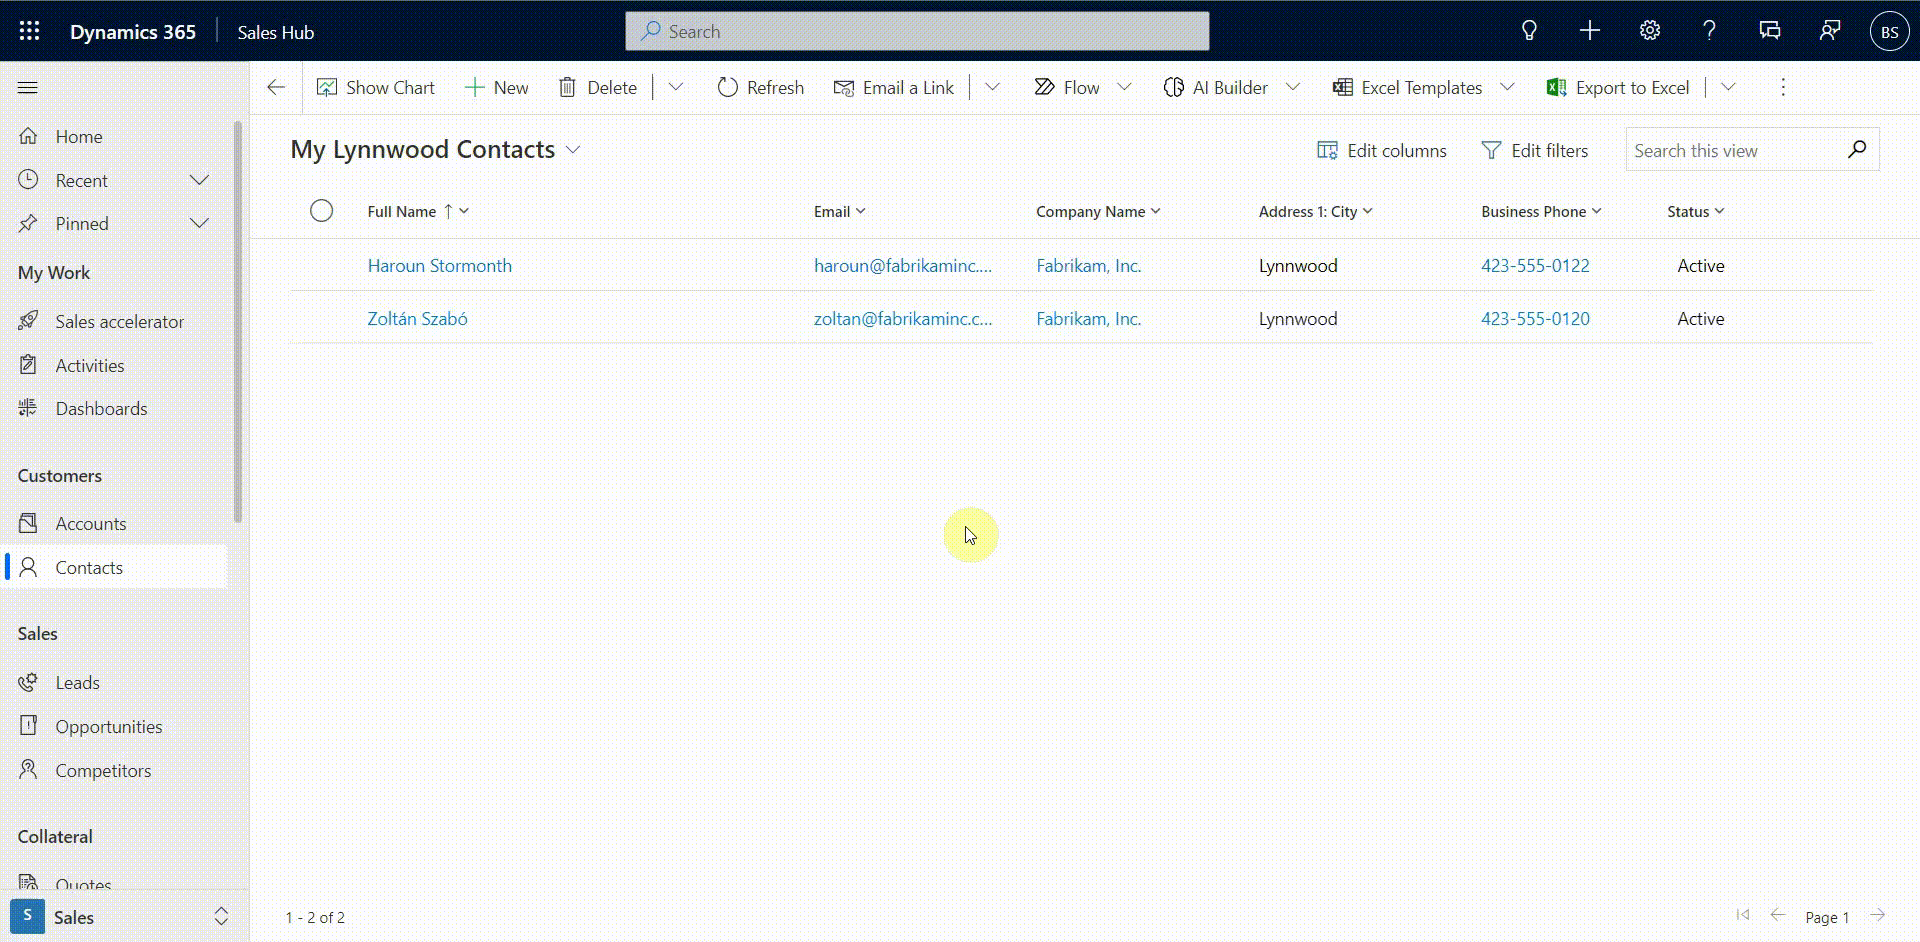
A key piece of functionality for views, is the ability to filter the list of rows by the information held in the columns. For example, you may want to only see a list of active contacts located in Dallas; this can be easily achieved with Views.
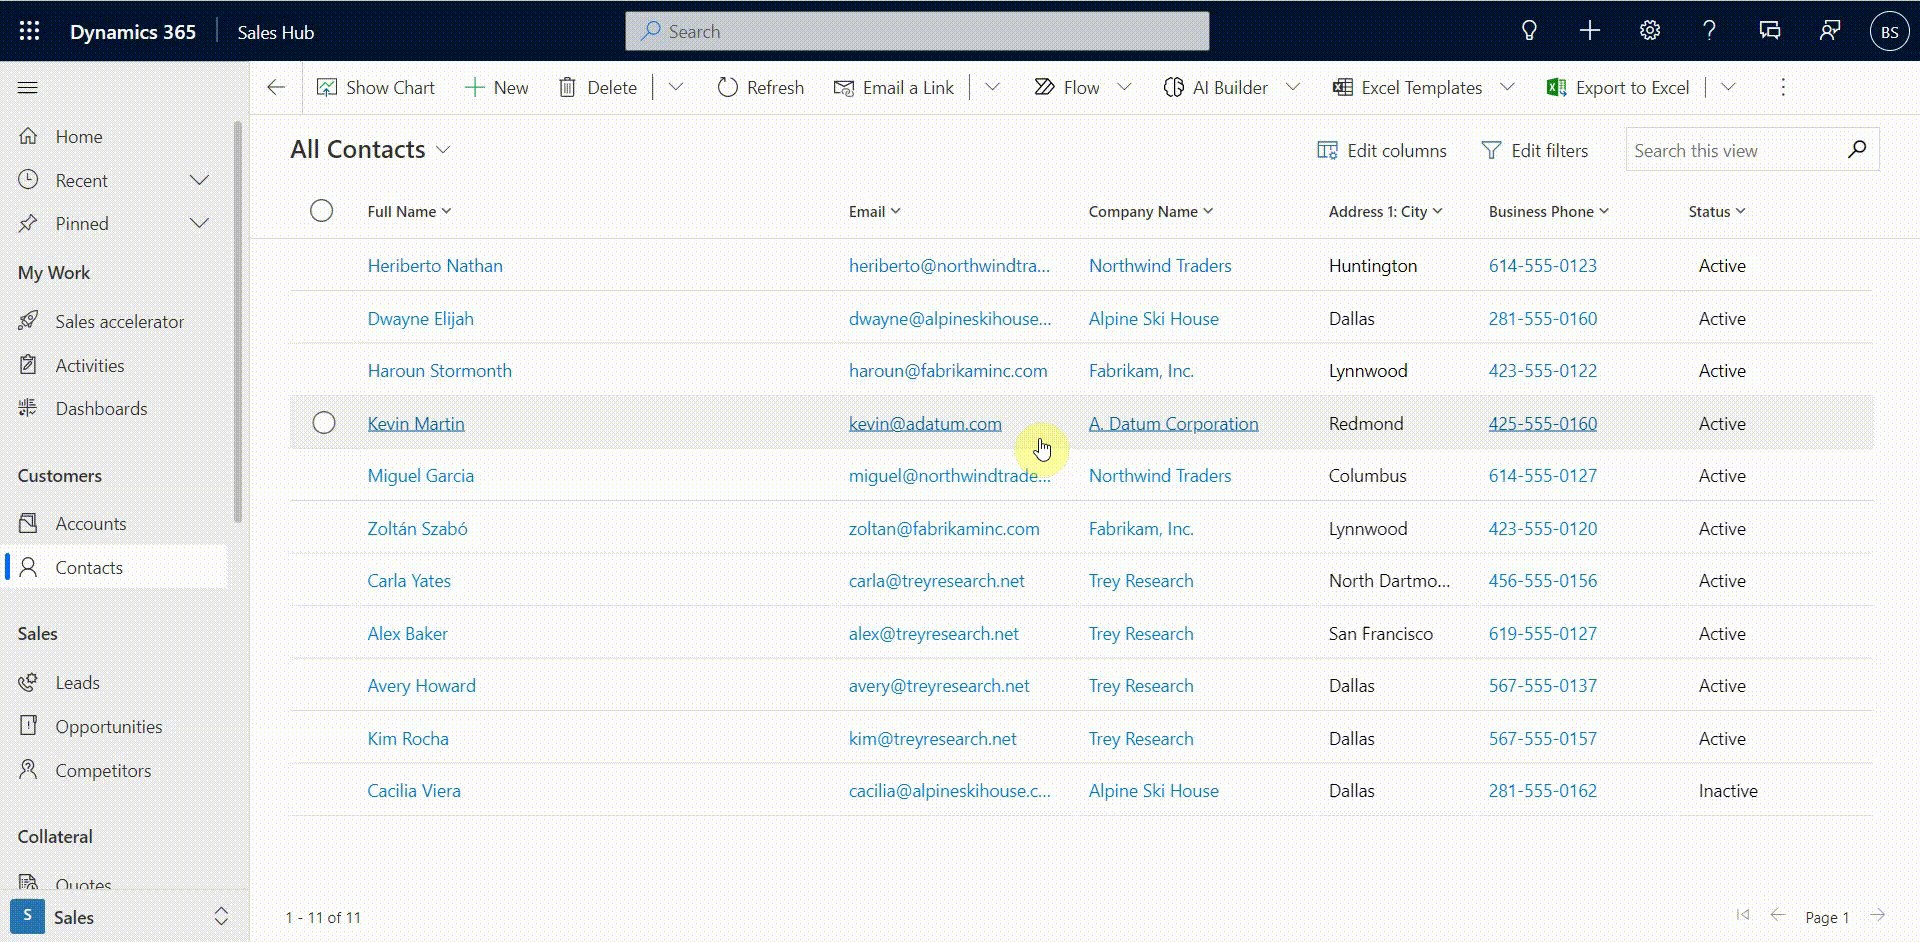
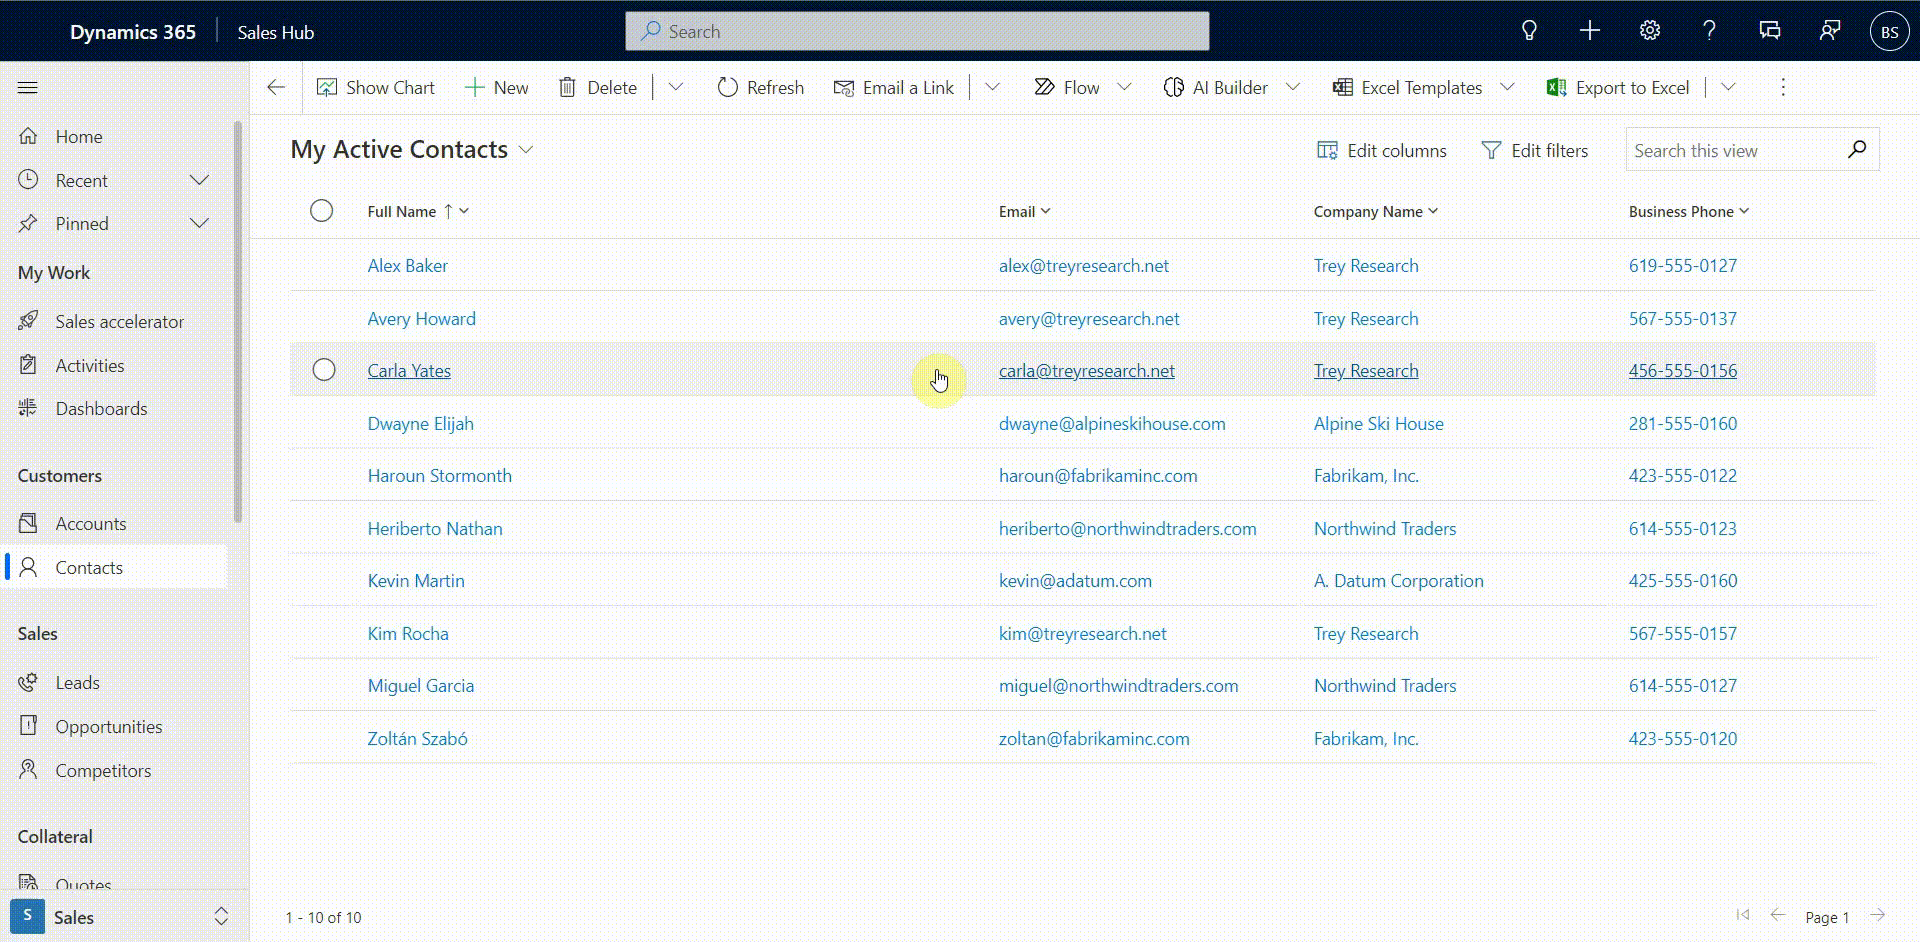
Personal Views
Personal views are views that are created by individual users in an organisation. They are only visible to the user who created them unless they choose to share them with other users.
The Personal View can then be Hidden, Deleted, Shared or Set to Default. This can be done by selecting the dropdown list of views and selecting ‘Manage and Share Views’. From this menu, you can rearrange the order in which the views appear by changing the ‘Sort by’ dropdown, or filtering the views/ search through all the views for the Table.
By selecting the three dots next to each Personal View you can select from multiple options:
- Hide (if enabled)
- Set as default view
- Share
- Edit info
- Assign
- Delete
- Deactivate
How to create a Personal View in Dynamics 365:
To create a Personal View, firstly select a base system view for which to alter, choosing one close to the Personal View you wish to create. Make the desired changes to the ‘Edit Columns’ and ‘Edit Filters’ menus. The ‘Edit Columns’ menus allow you to add and remove columns from the view, as well as rearrange the order in which the columns appear in the view.
To save this edited system view as a personal view, select the dropdown list of views and select ‘Save as new view’. This will now allow you to access this view from the dropdown in the same way as for system views.
If you want to share your personal view with other people in your organisation it is easy, simply add the person to your personal view.
After choosing the share option you will be taken to a new menu where you can add users and teams you wish to share the personal view with.
With these new changes to how views work in Dynamics 365, creating, deleting and sharing views has been streamlined and brought in line with the modern Unified Interface of Dynamics 365.
System Views
System Views only have the options ‘Set as Default View or Hide’ (if enabled), they are determined by your organisation and cannot be edited or changed by individual users. However, a personal view is always built using a system view.
Changes to Dynamics 365 Advanced Find
As briefly mentioned at the start of this blog post, Microsoft has replaced the legacy Advanced Find feature across Model-Driven apps, with an updated version. This is a significant change as it has been a long time since this feature was updated, despite the rollout of the Unified Interface in recent years.
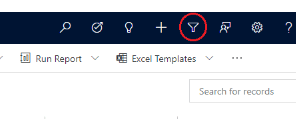
The classic Advanced Find icon could be found in the navigation bar (which you might recognise from the screenshot below).
The modern advanced find feature lets you quickly and easily search for tables, even those that aren’t on the site map. This is accessed by clicking the Dataverse Search box (no need to enter any terms), and selecting the option at the bottom of the drop-down menu. This will bring up a sidebar showing all the tables in the system. Upon selecting the desired table, you will be taken to the default view of the table, and the filter menu will automatically be brought up, allowing you to find the specific rows you’re looking for.
Get in touch
If you have any questions about Views or the Modern Advanced Find, please contact us. Fill out the contact form below and a member of our team will be in touch shortly, or if you’d prefer, email us at info@pragmatiq.co.uk / call us on 01908 038110.
Want to keep in touch?
Sign up to our newsletter for regular updates.
"*" indicates required fields